Prototyping is a critical step in Printed Circuit Board (PCB) development, bridging the gap between design concepts and final production.
Efficient PCB prototyping not only validates design accuracy but also helps identify potential issues early, saving time and resources.
This comprehensive guide covers every stage of PCB prototyping, from initial design to final testing, providing insights into best practices and industry standards to achieve reliable prototypes.
1. The Importance of PCB Prototyping
PCB prototyping is essential for verifying design functionality before mass production. It allows engineers to test electrical performance, mechanical integrity, and compliance with specifications. Skipping this step can result in production errors, increased costs, and compromised product reliability.
1.1 Why Prototype? Key Benefits
- Design Validation: Detect and correct design flaws before full-scale production.
- Performance Testing: Evaluate signal integrity, thermal management, and component compatibility.
- Cost Efficiency: Minimize financial risks by identifying issues early.
1.2 Types of PCB Prototyping
- Proof of Concept (PoC): Basic functional prototypes to validate design logic.
- Functional Prototypes: Closer to the final product, used to test features and performance.
- Pre-Production Prototypes: Final validation before mass production, ensuring manufacturability.
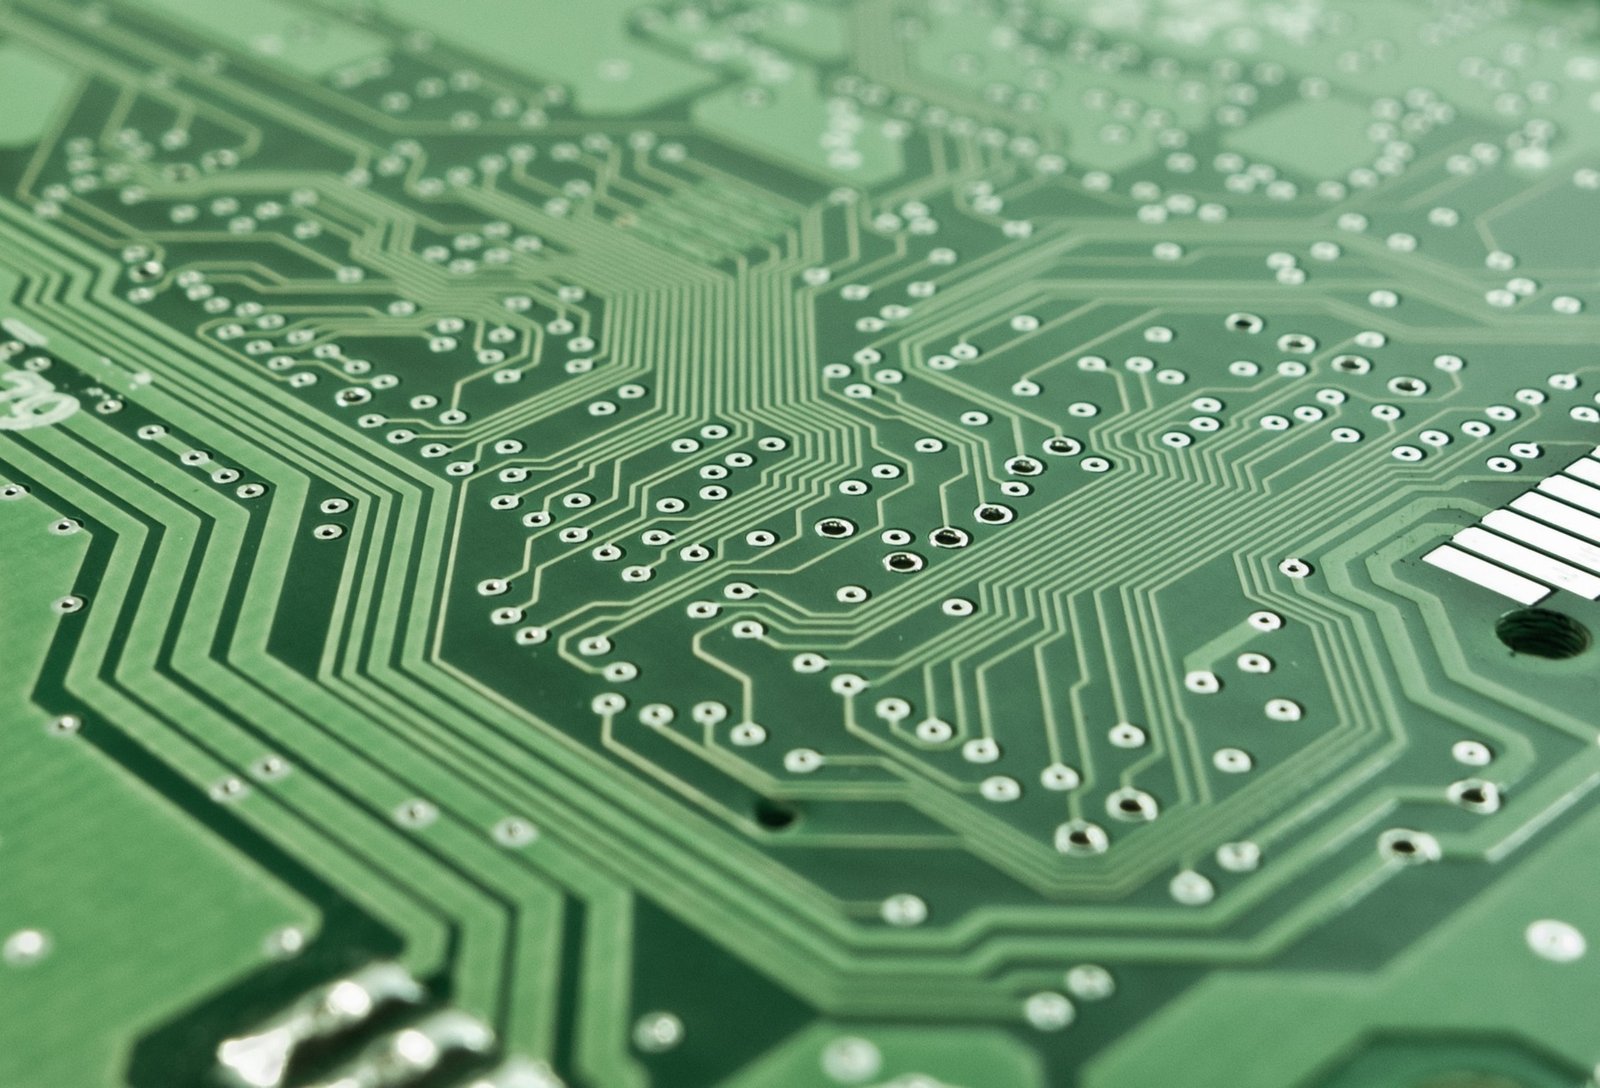
2. Designing the PCB Prototype: Key Considerations
Designing a successful PCB prototype requires careful planning and adherence to engineering standards. Factors such as material selection, layout design, and trace optimization play a crucial role in ensuring the prototype’s performance.
2.1 Material Selection
The choice of substrate material affects the PCB’s thermal and electrical properties. FR-4 is commonly used for its balance of cost and performance, while high-frequency PCBs may require materials like Rogers 4350.
| Material | Dielectric Constant (Dk) | Application |
|---|---|---|
| FR-4 | 4.5 | General electronics, consumer products |
| Rogers 4350 | 3.5 | High-frequency applications |
| Polyimide | 3.2 | Flexible circuits, aerospace |
2.2 Design Software and Tools
Using professional PCB design software like Altium Designer, KiCad, or Eagle ensures precision and layout optimization. These tools support advanced features like trace width calculation, thermal analysis, and multi-layer design.
2.3 Design for Manufacturability (DFM)
DFM practices ensure that prototypes are easy to manufacture and assemble. Key considerations include proper via size, trace spacing, and solder mask clearance. Consult the IPC-2221 Standard for design rules and guidelines.
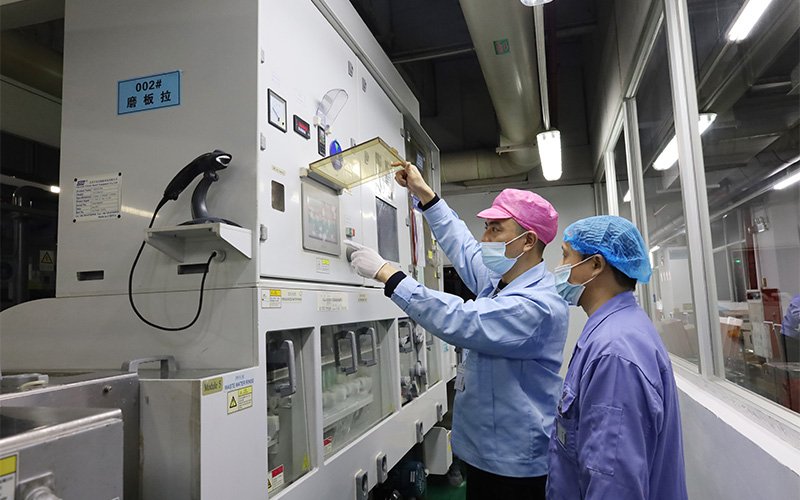
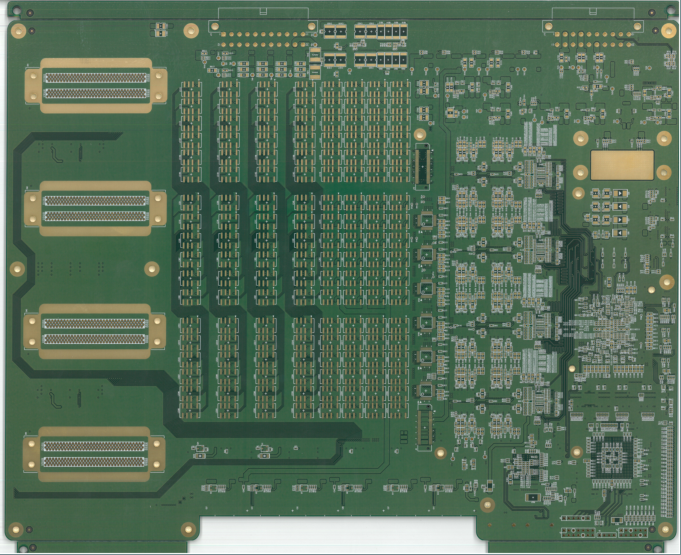
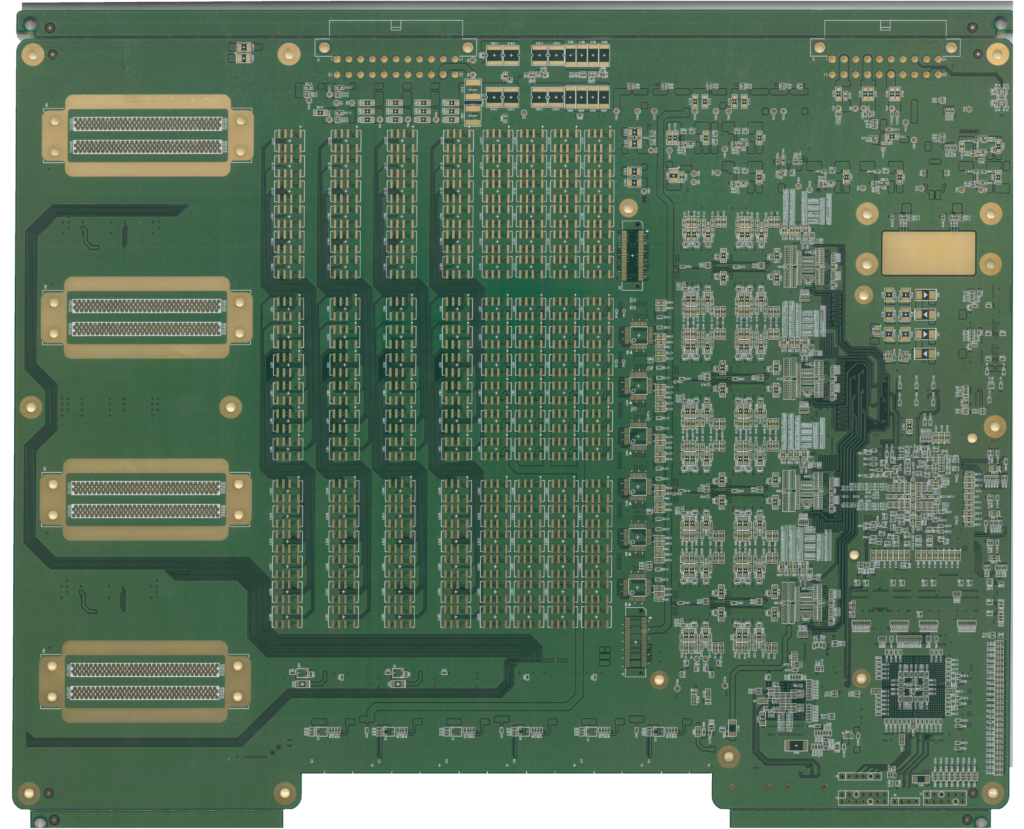
3. Manufacturing the Prototype: From Design to Assembly
Once the design is finalized, the next step is manufacturing the prototype. This stage involves choosing a fabrication method, assembling components, and conducting initial quality checks.
3.1 PCB Fabrication Techniques
- Subtractive Process: Etching copper from a laminated board.
- Additive Process: Adding conductive materials to form traces.
- Advanced Techniques: Laser direct imaging (LDI) for high-precision layouts.
3.2 Assembly and Soldering
Automated Solder Paste Printing and Surface Mount Technology (SMT) are commonly used in prototype assembly. Proper solder joint formation is critical for maintaining electrical connectivity and mechanical stability.
4. Testing and Validation: Ensuring Prototype Reliability
Testing is crucial to verify that the prototype meets design specifications. Functional testing, environmental stress tests, and signal integrity analysis are performed to detect faults.
4.1 Functional Testing
Validates the electrical performance of the PCB, checking for continuity, signal integrity, and power distribution.
4.2 Environmental Stress Testing
Simulates real-world conditions, including thermal cycling and vibration tests, to ensure durability and reliability.
5. Analyzing Prototype Data: Feedback and Optimization
Analyzing test data helps identify potential issues and areas for improvement. Implementing changes based on feedback is crucial before moving to mass production.
5.1 Data Analysis Techniques
Use statistical process control (SPC) and root cause analysis (RCA) to evaluate performance deviations.
5.2 Design Optimization
Incorporate lessons learned from prototype testing into design revisions, focusing on trace optimization and thermal management.
From Prototype to Production: The Final Step
Transitioning from prototyping to mass production requires thorough validation and optimization. Ensuring manufacturability, performance consistency, and compliance with standards is essential.